You are looking to reinstall Windows by USB but do not know how to do it quickly and simply! Let’s refer to how to create a Bootable USB to install Windows 7, 10 on both UEFI and LEGACY standards with Rufus right below!
Contents
1. What is USB Boot?
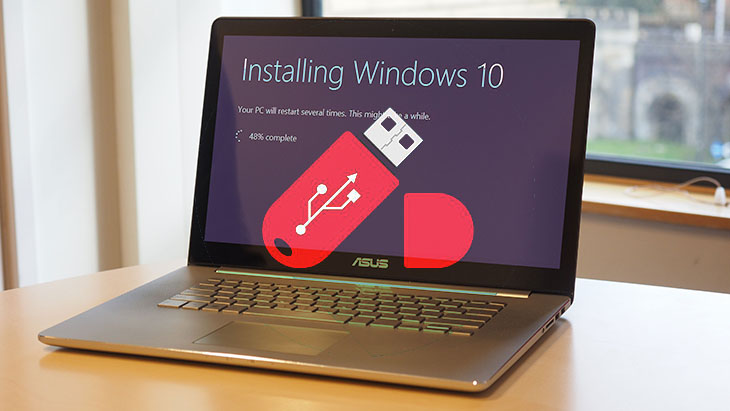
Usually, users cannot install WIN directly when the computer is running the operating system (in the Desktop interface), so the easiest way to install WIN is to use a USB stick. And in order for the computer system to read the WIN installer in the USB, the USB must be loaded with BOOT (boot kit).
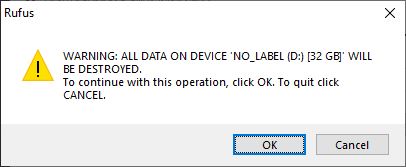
- When creating a bootable USB all data on the USB will be lost, so you need to back up the data before doing so.
- Creating a bootable USB to install WIN is not as difficult as you think, so be confident!
- Prepare 1 USB with a capacity of more than 4 GB to create a Bootable USB .
- Download the ISO file for Windows 7 or Windows 10 (the ISO file is the file containing the data of the WIN installer).
2. How to create a bootable USB to install WIN 7, 10 on both UEFI and LEGACY standards using Rufus
- Create USB Boot that can run on both UEFI and LEGACY standards (UEFI is a new standard that supports more features and utilities than LEGACY, but UEFI only supports installing WIN 2, 7 10-bit versions, and LEGACY fully supports operating system versions).
- Simple operation, can be applied to those of you who do not have knowledge of Boot WIN, install WIN.
- It is a reputable software that is being used by many people.
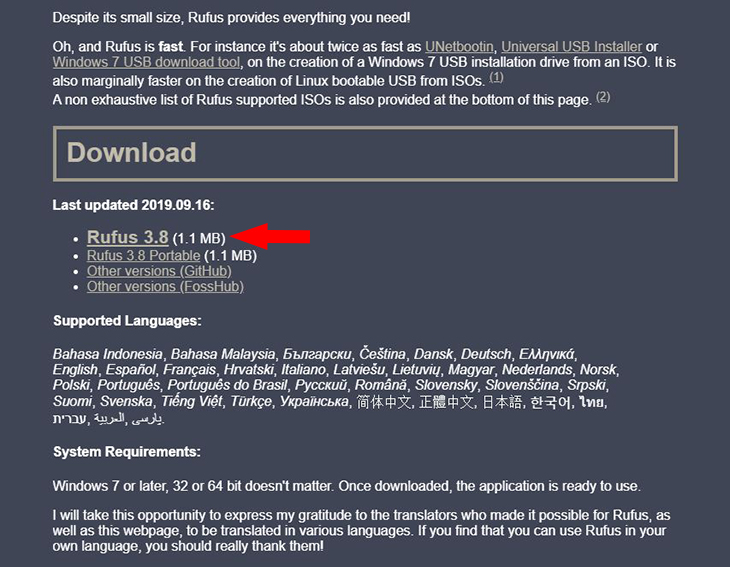
- Download Rufus | 1.1 MB.
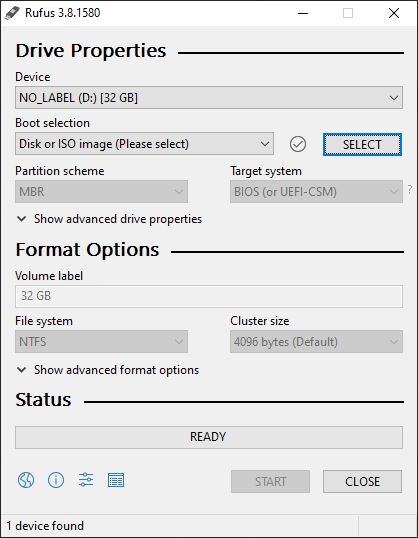
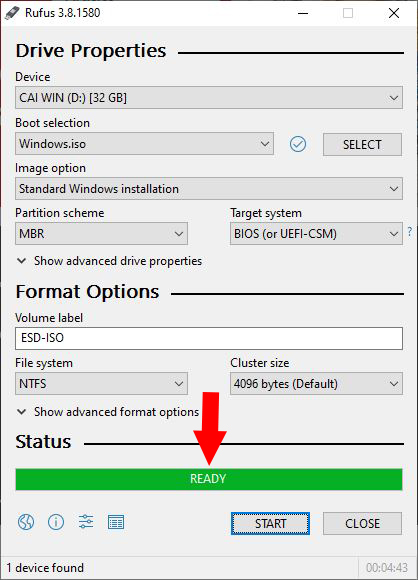
Step 2: Launch the downloaded Rufus, you will see the main interface of the software as follows. Now remember to connect the USB to the computer that just installed Rufus!
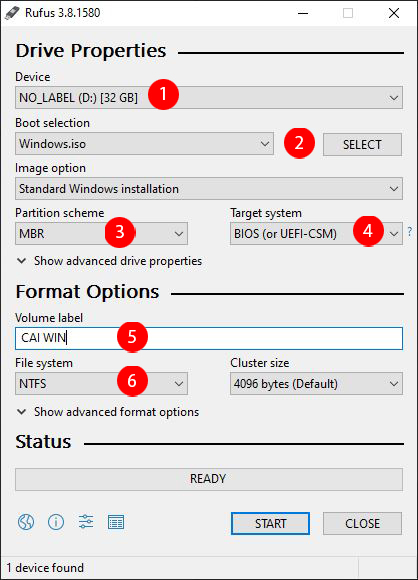
- (1): Select your USB name.
- (2): Click the SELECT button to select the Windows 7 or Windows 10 ISO file you downloaded earlier.
- (3): Partition scheme: Now you need to press Alt + E to enable the hidden feature to create USB 2 partitions.
- (4): Target system: The system automatically selects into BIOS or UEFI.
- (5): Volume Lable: Name your USB Boot, suggest naming it so that it makes the most sense, for example: USB CAI WIN 10.
- (6): File System: Select NTFS (recommended).
Step 4: Click START to start the process of creating a bootable USB to install WIN 7, 10 for computers and laptops.
3. Instructions to check (Boot test) Does USB Boot work or not?
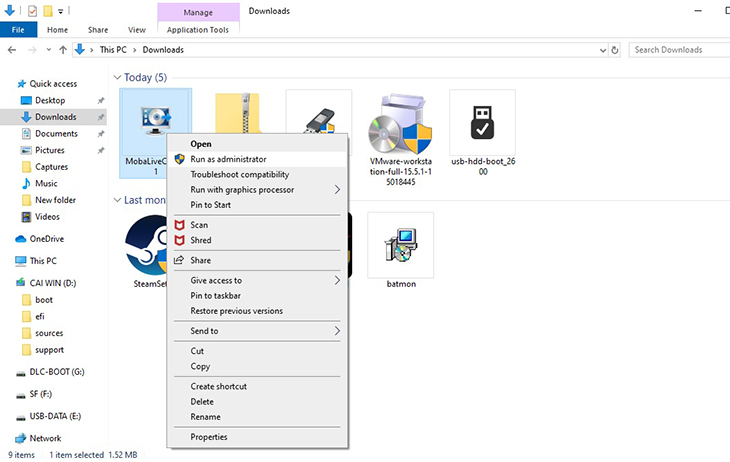
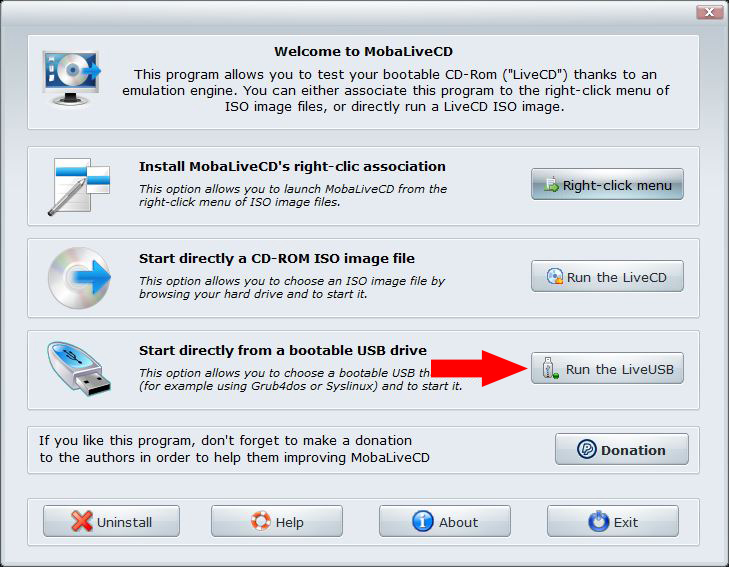
Step 3: Run the LiveUSB.
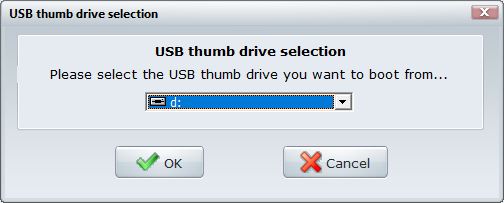
Step 4: Select the USB you want to test.
Step 5: Press No to skip the virtual disk creation feature.
Step 6: Now a new window appears and you can test the features in USB Boot.
Thus, Emergency Camera has shown you how to create a bootable USB to install WIN 7, 10 quickly and simply today. If you have any questions during the process, don’t forget to leave them right below the comment section!
Thank you everyone for following the article of cctvit.net


 Tiếng Việt