

 Tiếng Việt
 CAMERA TRICKS
 IT TRICKS
 APPLICATION SOFTWARE
 VIDEOS

 TOOL
TOOL

 SOLUTION

 TECH NEWS
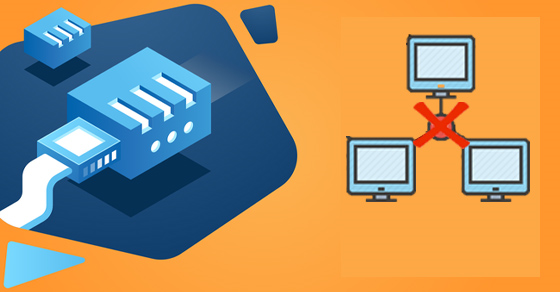
Network hard drive – NAS (short for Network Attached Storage) is a data storage device with one or more hard drives when used connected to a LAN network (attached to a Router / Modem / Switch) with a network connection. Internet. Along with that, allowing users to centrally store, share files, enjoy multimedia from anywhere and any device with just an internet connection.


To make it easy for customers to operate, Phuc Anh would like to send customers the most intuitive and simple DSM installation guide.
Some initial preparation
- Insert the HDD into the Synology trays
- Plug the network cable connected from the NAS into the network in use
- Check that the network connection is fully received and the hard drives are attached
Steps to take

Then select in : I have read and agreed to terms of EULA and press Ok

Note: Some Web browsers will appear in French when configured, to fix this problem, go to the Options section of each web browser, go to the language section, and select remove French and restart or change the browser. other browser.
Select Setup to continue

This step will have 2 ways to manipulate
Method 1: Install DSM from the Internet, the NAS will connect to Synology’s server to download the latest DSM version for installation.

Method 2: install DSM from the file on the computer. This is a must-have option if your NAS doesn’t have an Internet connection or to save time if the network is slow.

Check I understand that all data on these… and select OK

The installation process will take place in a few minutes and download the operating system (note Internet connection is required). With the type of installation from the pre-loader, it is similar and has a faster time.
After the installation is complete, you proceed to name the device and create an account, and press NEXT

Here will allow to quickly set up the quick ID used to access the Synology NAS remotely, this will be covered in another article, select Skip this step to continue. Or register to use will have a lot of utilities.

Select Next

Select Go
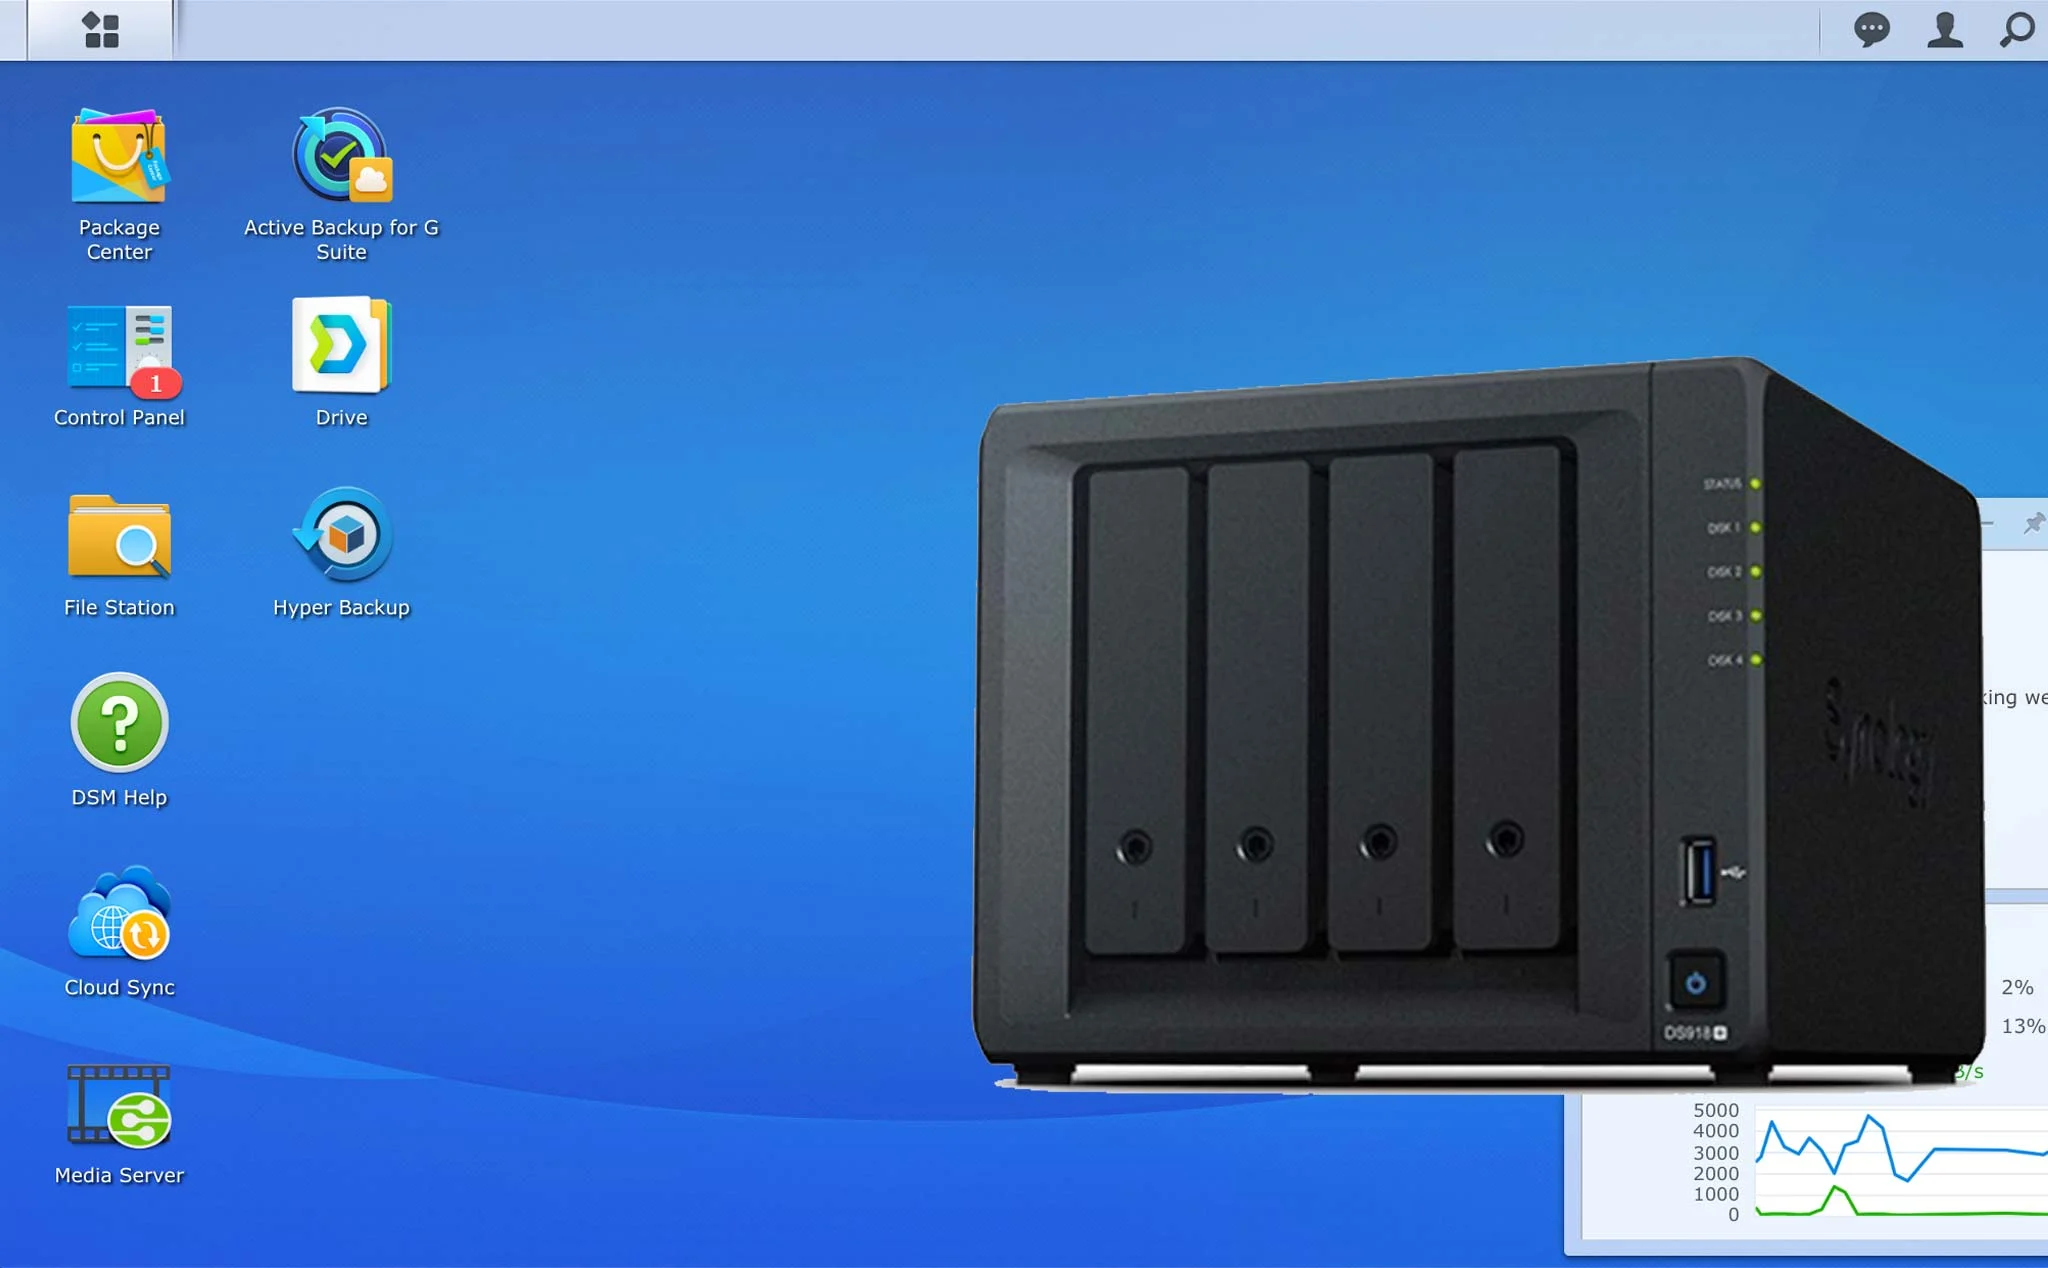
And get to the operating system interface DiskStation Manager (DSM). Thus, the steps have been completed.

Thank you everyone for following the article of kabevision.com