

 Tiếng Việt
 CAMERA TRICKS
 IT TRICKS

 APPLICATION SOFTWARE
 VIDEOS
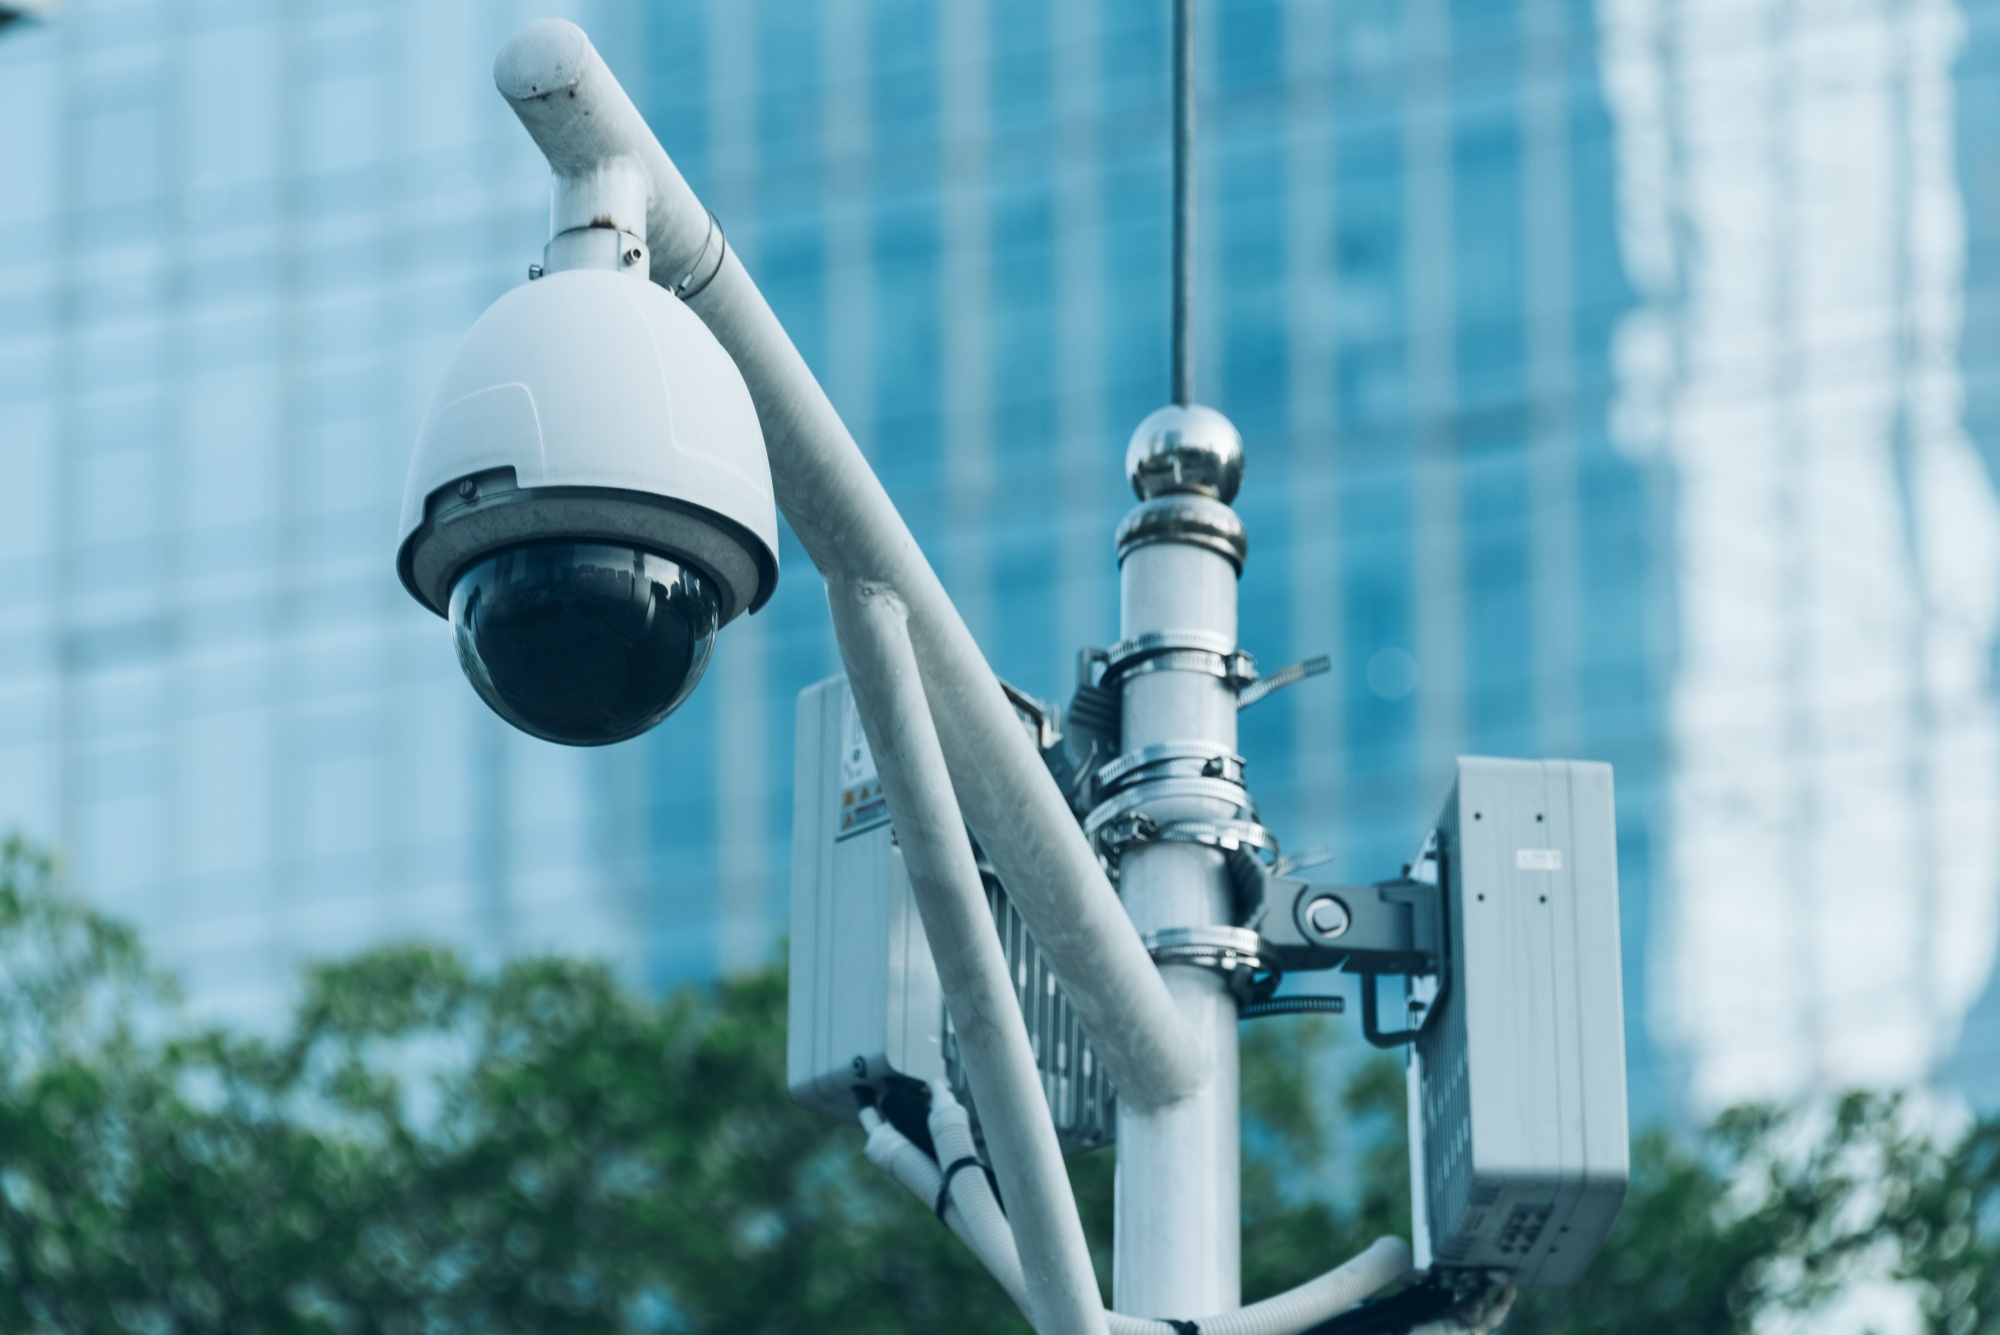

 TOOL
TOOL

 SOLUTION

 TECH NEWS
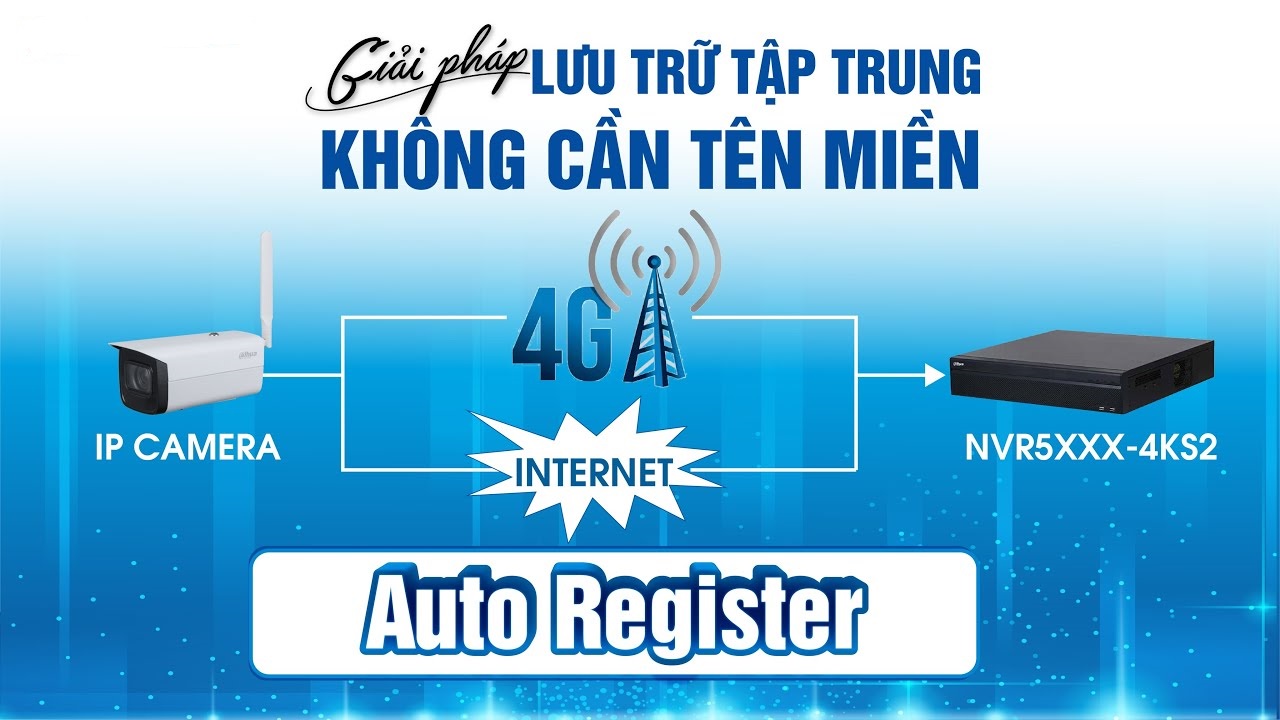
Hi everyone, today I will introduce and share how to connect the remote camera to the NVR through the Auto Register feature of Dahua & KBvision to you in the following article
1. What is Auto Register?
Auto Register is a new feature equipped on Dahua’s high-end recorders – KBvision, helping us to connect the camera remotely in a simple way without having to register domain names and nat ports in the traditional way that we used to do. The Auto Register feature is extremely convenient and useful in the current booming 4.0 technology era.
2. Equipment Requirements
- First: Dahua’s NVR recorders of the new N5-NR3 series series 3 or KBvision series support Auto Register feature
- Second: IP cameras need to support Auto Register
- Third: the central location of the recorder installation is required to have a static WAN IP address.
Note: If the central location does not have a Static WAN IP, the domain name can be used to connect the cam using the Auto Register feature, but this feature is only supported on some Wizsense 2 camera series & Camera using 4G sim of Dahua or CaiF series Camera & Camera using 4G sim of KBvision to support the use of domain name connected to the NVR in the center via Auto Register
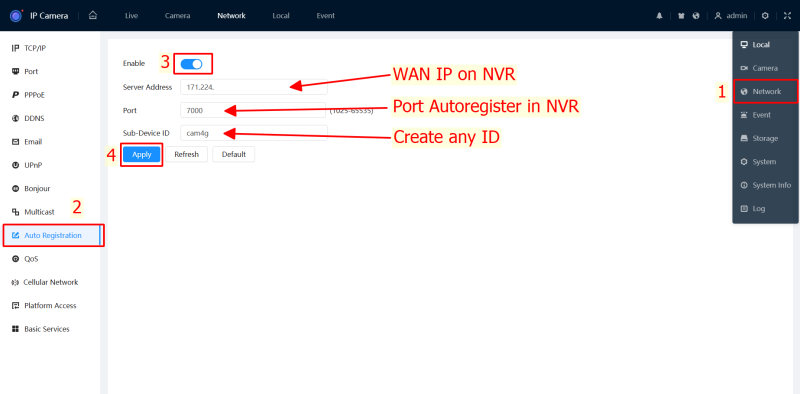
3. Setup steps
- Server Address: 171.224.xxx.xx (IP Wan of the NVR) – or the domain name of the recorder for supported cameras
- Port: 7000
- Sub-Device ID: Enter 1 arbitrary name for you to enter in the connection section on the NVR

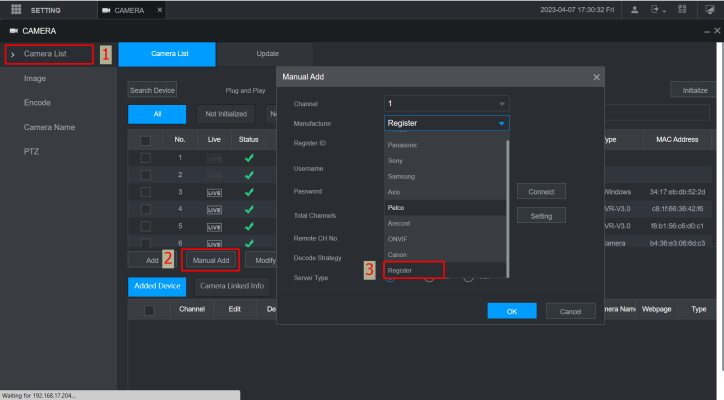
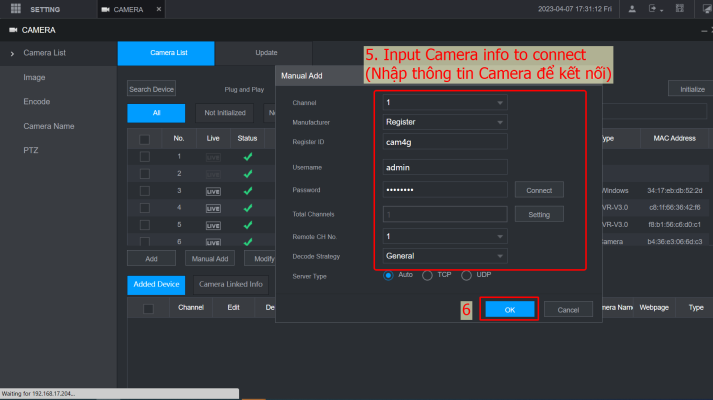
- Channel: Depending on the channel you want to bring back
- Manufactuner: Select Register
- Register ID: cam4g (Name of the Sub-Device ID of the camera you set)
- Username: admin
- Password: remote camera password
- Server type: Auto
- Then click OK to save the configuration

Thank you for following kabevision.com article!