

 Tiếng Việt
 CAMERA TRICKS
 IT TRICKS

 APPLICATION SOFTWARE
 VIDEOS

 TOOL
TOOL


 SOLUTION

 TECH NEWS
Hi guys sometimes you just want to allow certain devices to be able to connect to your Wifi SSID, then MAC Filter (Mac Filter) allows or blocks connections from wireless clients of specific MAC addresses. I will guide in detail in the following article
1. What is Mac Filter?
MAC Filter is a smart function integrated for a long time on TP-Link Wifi routers. With this feature, you will be able to prevent or allow one or more devices from connecting to your Wifi SSID. This feature is extremely useful when your friend uses Wifi. Just license devices in your home – business you can use your Wi-Fi network. Even if you don’t set a wifi password, other devices that can connect to your wifi won’t be able to use it.
2. Mac Filter Configuration Guide
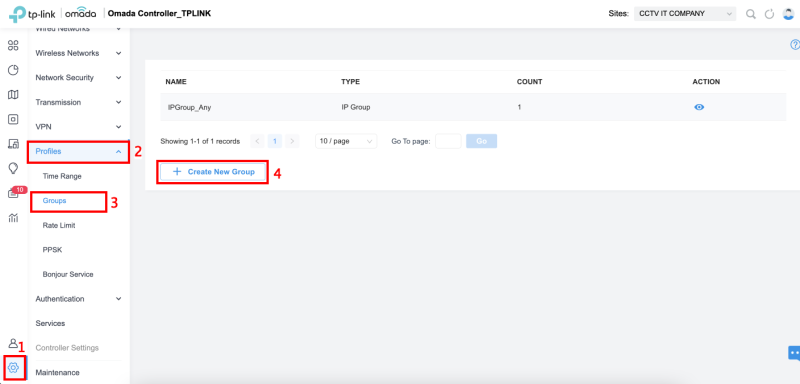
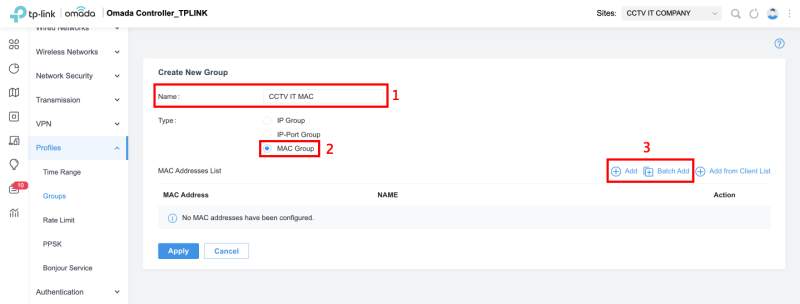
Step 1: Go to Settings -> Profiles -> Groups -> + Create New Group
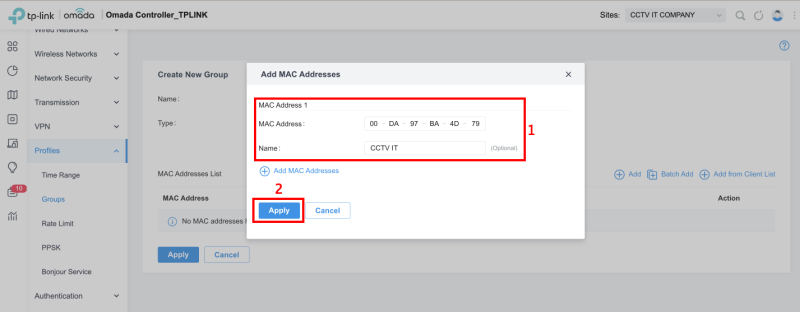
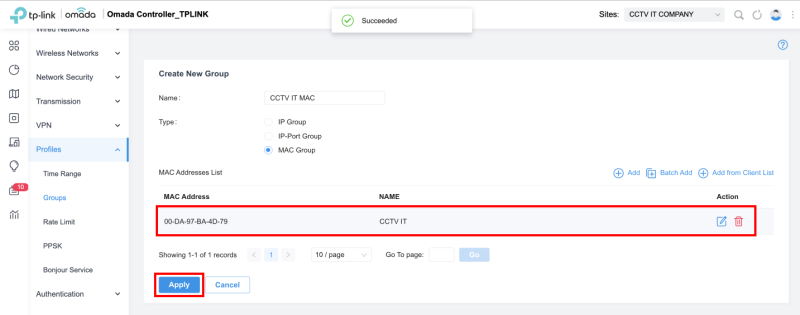
Step 2: Name Group –> MAC Group -> Add to add the MAC of the device. You can Add them one by one, Bulk Add or Add from the customer list then click Apply to save the configuration
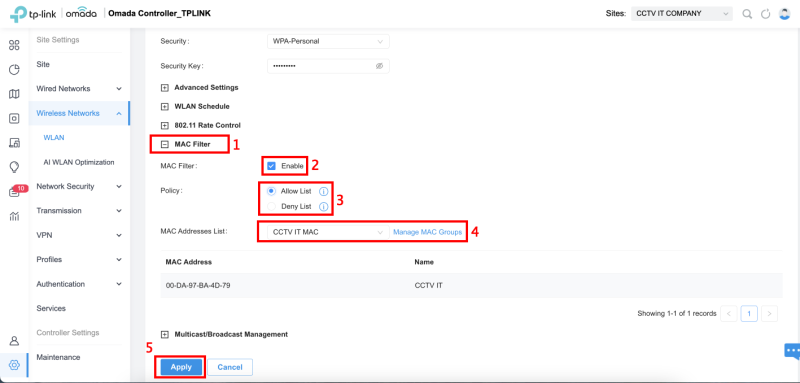
Step 3: Select the SSID Wifi to filter the MAC, go to Wireless Networks -> WLAN -> Select SSID WIFI -> Edit
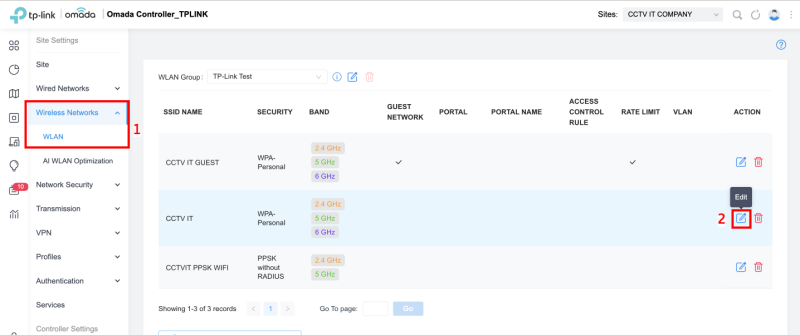
- Allow List: Allows the device whose MAC address is in the Assigned MAC Address List, and blocks other devices.
- Deny List: Block the connection of devices whose MAC addresses are in the specified MAC Address List, and allow others.
Thank you for following kabevision.com article – good luck!