

 Tiếng Việt
 CAMERA TRICKS
 IT TRICKS
 APPLICATION SOFTWARE
 VIDEOS

 TOOL
TOOL

 SOLUTION

 TECH NEWS
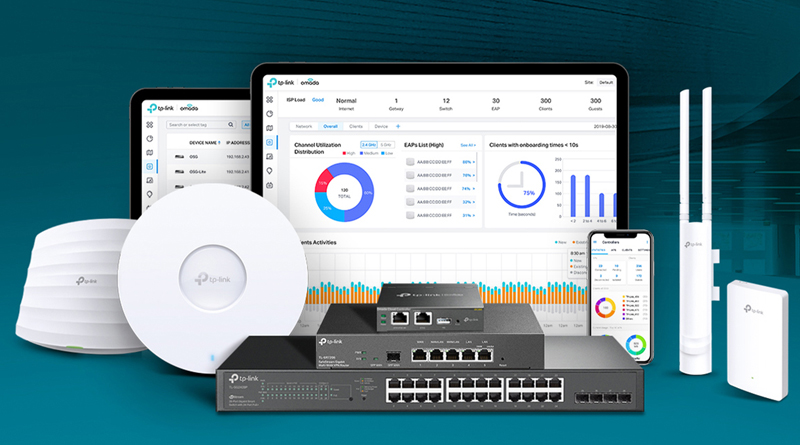
Hi everyone, today I will share with you how to add your TP-Link device Cloud Omada completely free from TP-Link company
1. What is Cloud Omada Free?
Cloud Omada is a platform that integrates network devices including APs, Switches, and Routers. Provides 100% centralized cloud management, to create a highly scalable network—all controlled from a single interface.

2. Add Tp-Link devices to Cloud Omada
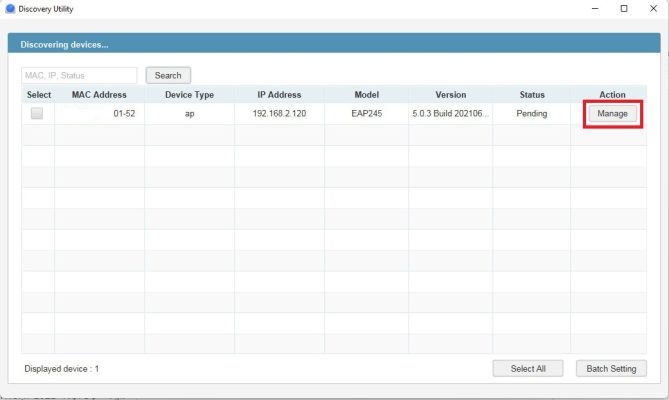
Step 1: Download the Omada Discovery Utility software here and Java 8 software here to search for TP-Link devices included in your system. After successful installation, the software will automatically scan and find the device, select the necessary device and click Manage
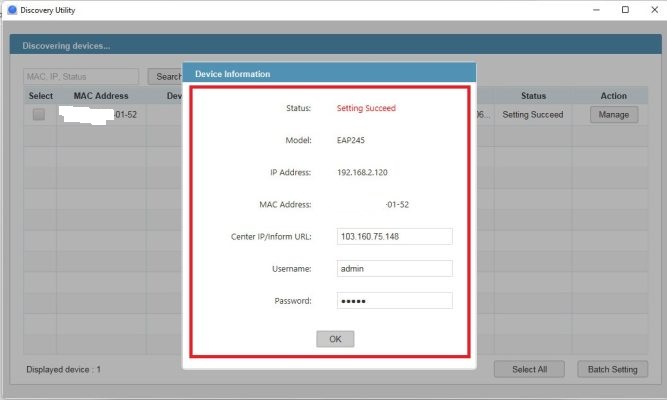
Step 2: Enter the Cloud Omada Server information
- Center IP/Inform URL: 103.160.75.148 (IP Server Cloud Omada that TP-Link sent in your registered email)
- Username: admin
- Password: admin
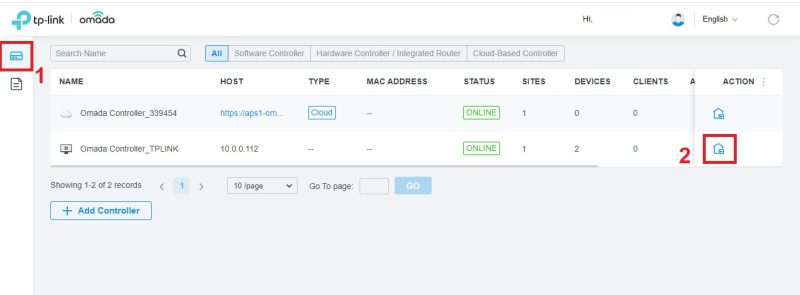
Step 3: Go to Controller -> Launch
Step 4: Go to the Devices section, then check the correct Mac address, your device, select Adopt to add the device to Cloud Omada
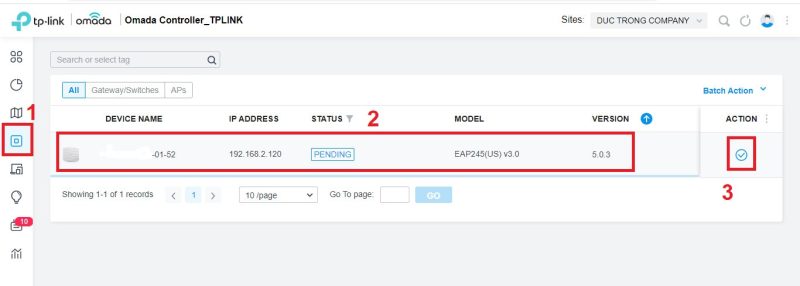
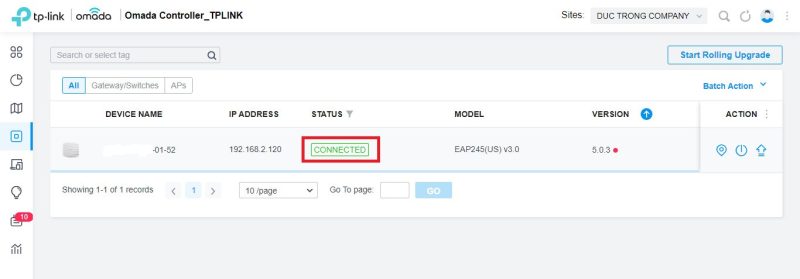
Step 5: Check that Status Conected has successfully added your device to Cloud Omada
Thank you for following cctvit.net article!