To be able to use a Synology NAS, the first thing to do is install the DSM operating system for the device. Here we have two ways to install: install via a computer using Web Assistant and install on a phone using DS finder.
1.Set up DSM using Web Assistant
Step 1: Insert the hard drive, turn on the NAS device and plug the LAN cord into the same network layer as the computer
Step 2: Open a web browser on your computer, access the web link: http://find.synology.com let the device find that Synology NAS (Chrome or Firefox is recommended to install)
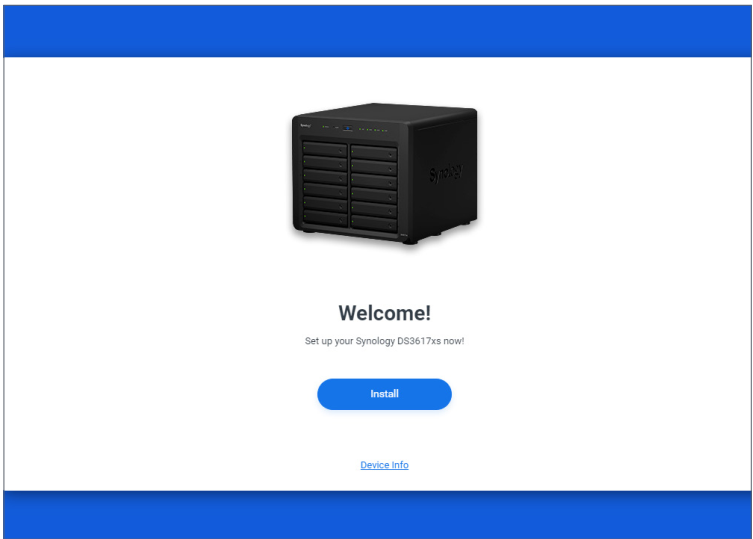
Step 3: Select your uninstalled NAS device and click Connect on the Web Assistant
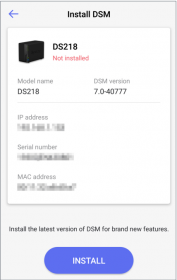
Step 4: Click Install to start the installation and follow the on-screen instructions
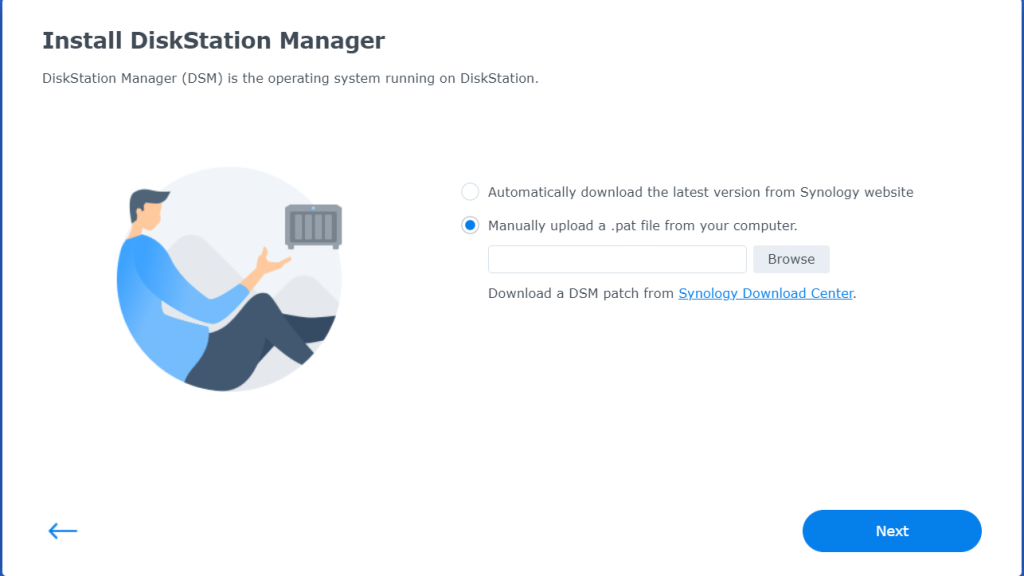
To install the DSM operating system, you should go to the website of Synology (https://www.synology.com/support/download) to download the installation and install the local mode on the NAS device. You must find the correct device code before you can install it
Step 5: Find the installation file on your computer, then click Next
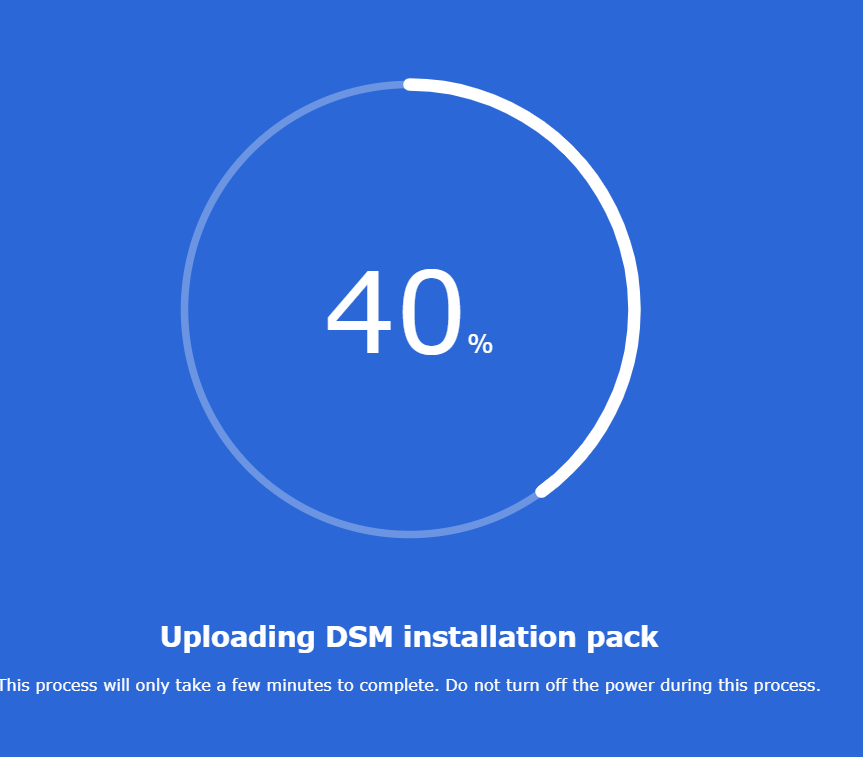
At this point, 1 warning will be displayed on the screen that all data on the drive will be deleted. Select “I understand…” and select Continue. It takes about 10 minutes for the NAS device to install the operating system
Step 6: When the device has finished installing DSM, we must now name and set an administrator account for the NAS device, then we click Next to continue

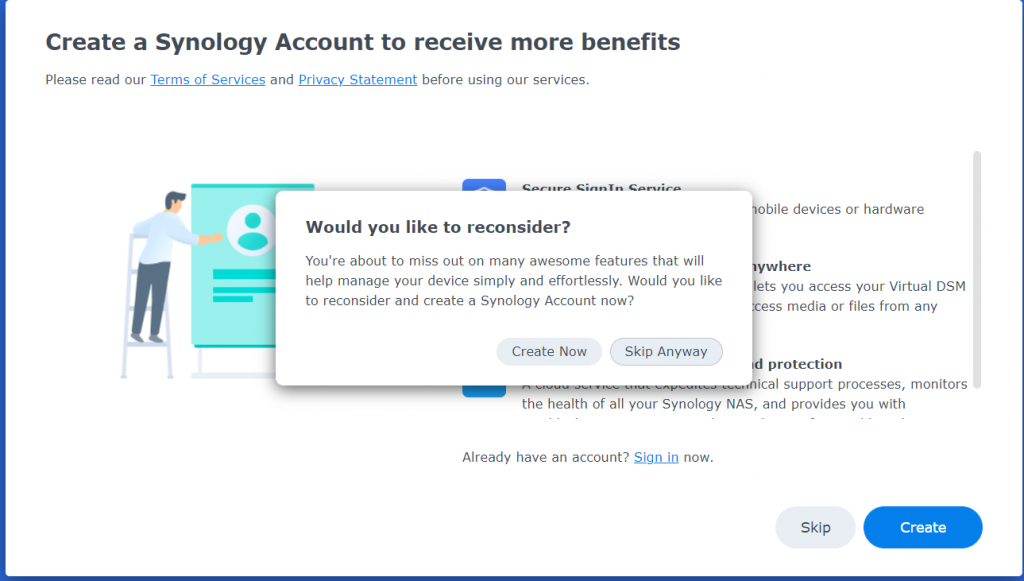
Step 7: After clicking Next, it will be displayed on the screen to create an account of Synology. If you already have an account or want to create it later, you can click Skip
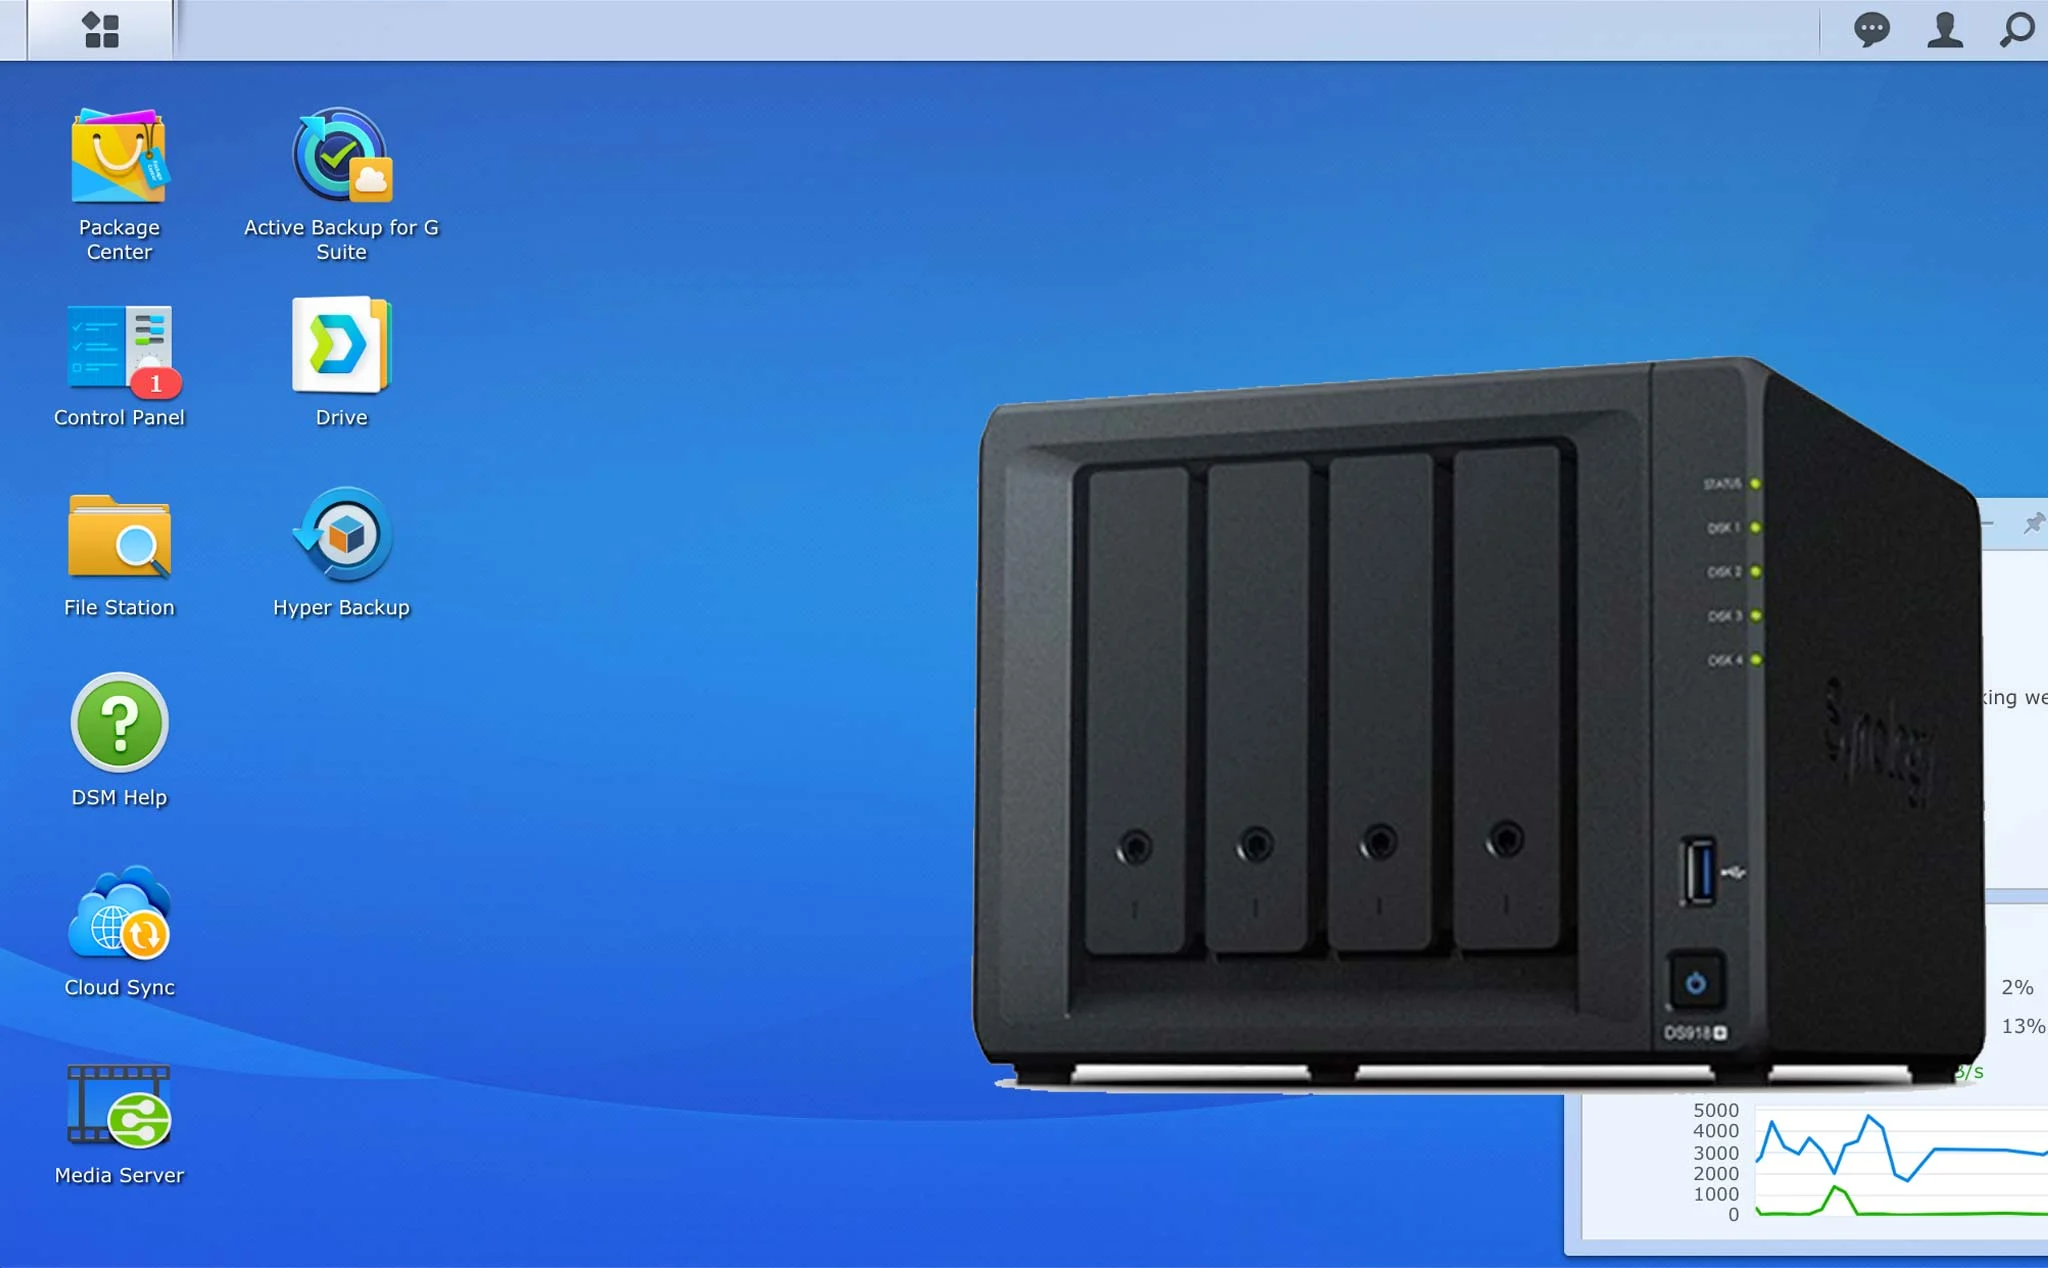
VAnd this is the interface screen of your Synology NAS device once the installation is complete.

2. Install DSM on phone with DS finder
Install DSM on phone with DS finder

Step 1: Turn on your NAS device, plug the LAN cord into the same network layer
Step 2: Connect your phone to the same network and run DS finder
Step 3: Click Set up new NAS to start the setup process
Step 4: Follow the on-screen instructions to establish your phone connection and the Synology NAS, select Search. DS finder will search for your NAS device and show the status of the uninstalled NAS
Step 5: Select the Synology NAS and start the installation and follow the instructions
Thank you for following cctvit.net article!


 Tiếng Việt
 CAMERA TRICKS
 IT TRICKS
 APPLICATION SOFTWARE
 VIDEOS

 TOOL
TOOL

 SOLUTION

 TECH NEWS